What is a cinemagraph?
Is it a photo? Is it a video? Short answer: Yes! But also no.
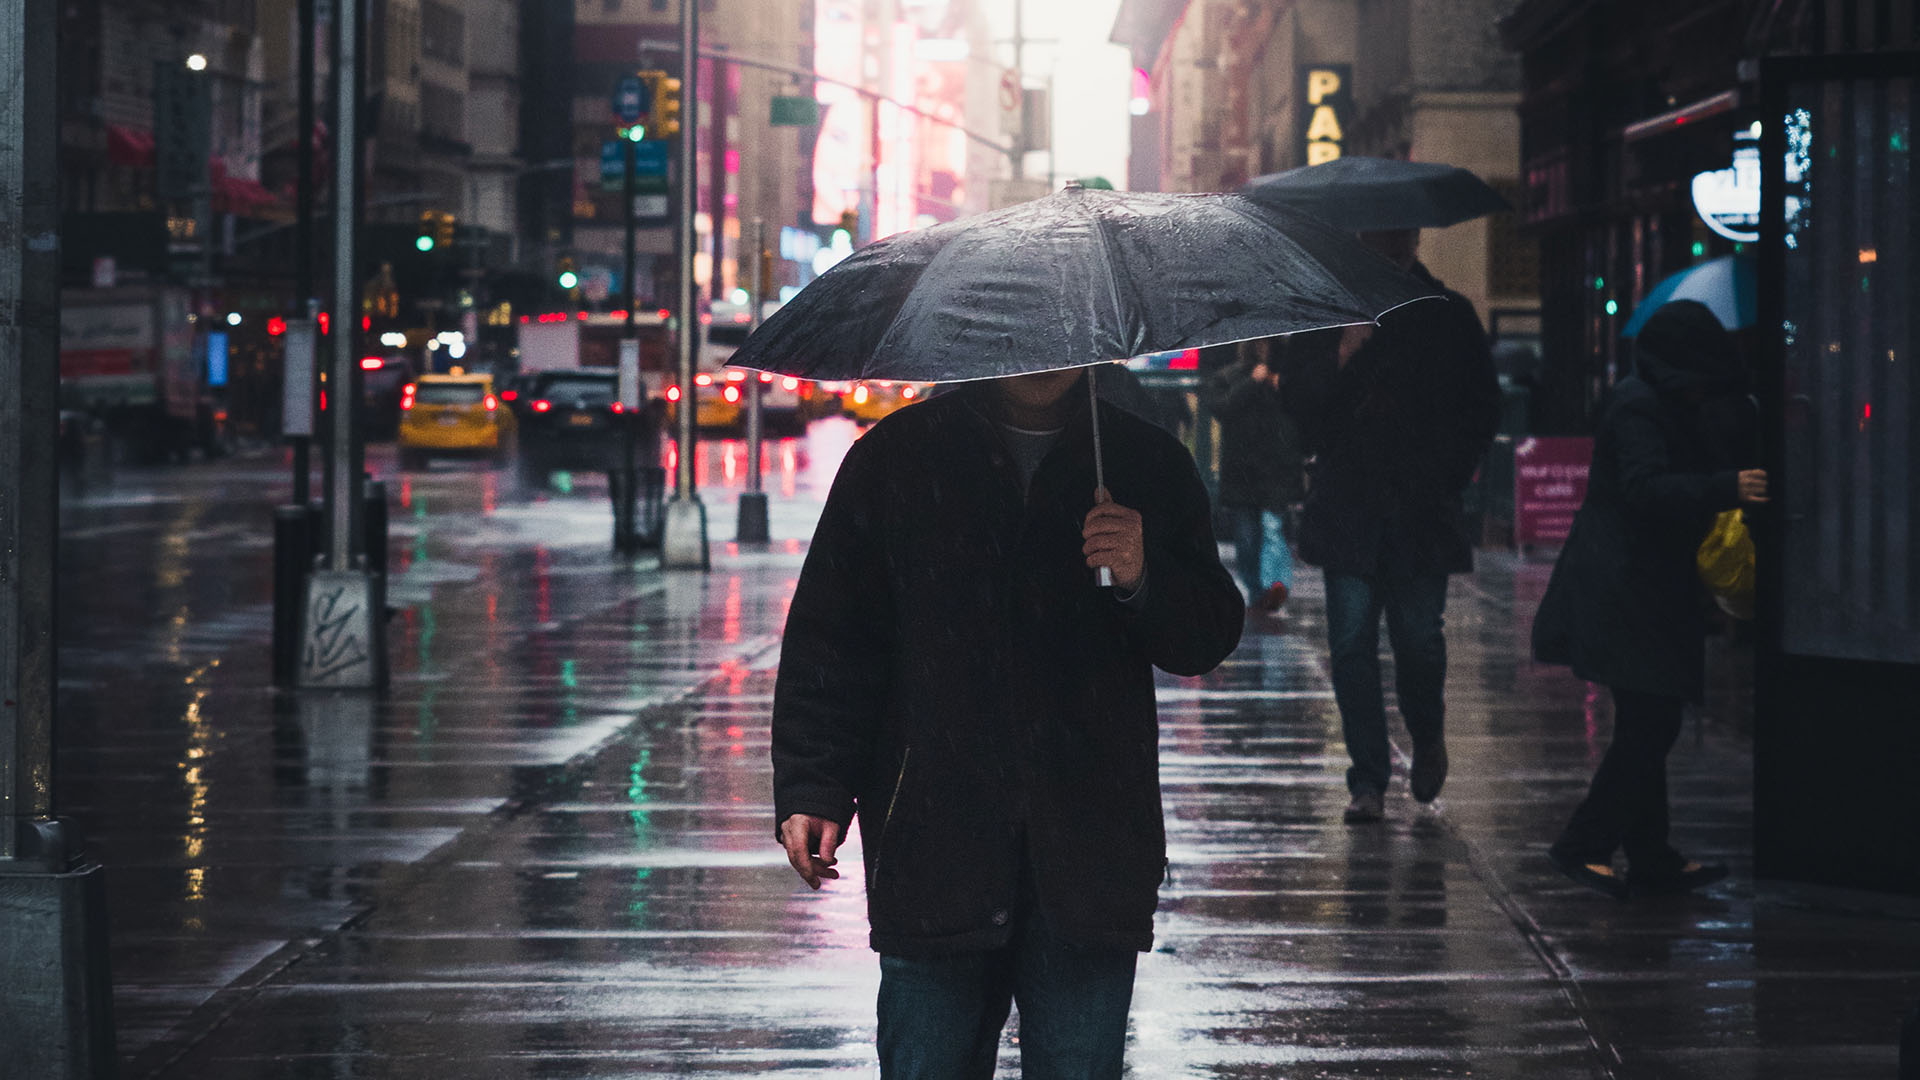
A cinemagraph is a sort of hybrid between a motionless photo with just a little sprinkling of movement like a video. The result is a graphic that is almost hypnotic in the way it tricks your mind and entices you to try and figure them out.
What makes a cinemagraph different from a video or a GIF (that’s pronounced GIF, not GIF) is that a video is clearly a video because everything in the frame is moving. Even if you mounted your camera on a tripod and shot a few seconds of footage you’ll still see the difference. Subtle noise grain, minor vibrations, color/lighting fluctuations. GIF’s are commonly used for memes or short clips of video/animation.
When should you use a cinemagraph?
There really isn’t a rulebook on how, when, or how often to use cinemagraphs, just be sure to use them sparingly and only when it makes sense. Think of them like cake: No one will complain if you bring a cake to the office every once and a while. Start bringing them in weekly and it quickly becomes excessive.
One of the most popular (and effective) places to use a cinemagraph is for social media marketing campaigns. When running a campaign to promote your product or service you really want something that’s going to capture the attention of a potential customer. A “thumb-stopper” that stops them from scrolling or even causes them to do a double-take asking, “Did I really see what I thought I just saw?” Increasing your chances of getting more eyes on your content. People are more likely to share something if they simply think it looks cool, so imagine if that “cool graphic” was your paid media. That’s where a cinemagraph can really work it’s magic.
Facebook ads have reportedly seen 85% increases in engagement versus 0.83% when using a standard photo. Twitter ads have seen as much as 110% increases versus 1.98% when using a still photo.
Why are they so effective?
What makes a cinemagraph so effective is that it’s just subtle enough to know something is “off” about the image, but not enough to make it seem unnatural. At first glance you see a photo, but there’s something more to it. If it was a fully motionless photo you may have simply scrolled right on by. If it had been a video it may not have had enough time to hold your interest.
Where a cinemagraph has an advantage is that its entire existence is 100% “the punchline”. Rather than a video where you have this build-up getting to the point, a cinemagraph is a single slice of time taken from the most interesting part of what would have been a pretty standard video. Kind of like how the best slice of cake has a little bit of all its best components. Yes, I’m still running with that cake thing.
Best Practices
What makes a great cinemagraph? At Residual Studios when we’re working with a client to develop a social media marketing campaign, we are very strategic about our approach. Sometimes a cinemagraph simply doesn’t make sense for a piece of content, but when it does here are some things we keep in mind:
Quality of the image
If the photography that’s being used is too blurry or grainy it will result in a less impactful cinemagraph. This is because it’s harder to tell what’s happening at a quick glance and you don’t see that vivid contrast between what is motionless and what is animated. It should be a beautiful photo on its own even without animation, with that subtle movement being like the icing on the cake. Imagine putting delicious icing on a really nasty cake.
Intentional movement
The only movement in a cinemagraph should be intentional. What is the main focus and is there anything immediately surrounding the subject that can be utilized to draw your audience’s attention to exactly where you want it to be?
Don't over-do it
Too much movement in the foreground and/or background will not have that same high-impact first impression. This is because too much movement may be indistinguishable from just another video that you could have easily filmed in the first place.
Make it impossible
Some of the most impactful and memorable cinemagraphs are the ones that seem to defy the laws of physics. Consider what the movement would look like in nature and freeze the thing that you would never see frozen in a video.
Loop it seamlessly
To tie everything together, make sure your animation is looping seamlessly. A hard cut back to the beginning is sort of like seeing the string in a magic trick, it just ruins the illusion forever. With a seamless loop your audience may watch the loop several times before realizing it’s repeating.
What makes the above cinemagraph so eye-catching is not just the snow overlay, but the addition of a fog behind the snowboarder. This helps to create the illusion that the subject (in this case the snowboarder) is frozen in time separated from their environment.
There are, however, instances where a simply overlay on a static image is just the right amount of movement. Subtle enough to not take away from the photography while still catching your attention:
Methods of creating cinemagraphs
There are many ways of creating a cinemagraph through various apps and editing techniques (After Effects, Premiere Pro, Photoshop, etc). Going through the technical aspects of each of those tools is more suited for a tutorial, but here is a high-level view for just a few of the most common ways to approach their creation:
Plan it
Film your shot with the intention of producing a cinemagraph. This provides the most flexibility, makes your content specific and intentional, and can greatly reduce how much time you spend on editing later. You’ll be able to capture the action your subject (or focus) is going to take, as well as a clean unobstructed shot of the background they’ll be in front of and you can choose which will be moving and which will be frozen in that moment. Be sure to use a tripod and if filming anything outside be aware of subtle changes in the scenery, especially your lighting!
Composite it
If you have a great photograph you can often easily find stock video assets to composite into your photo for added movement. It can be a simple as dropping a looping video of snow or rainfall on top of a photo, or you can do more detailed masking and put your animated elements into the scene.
Fake it
Using various motion graphics techniques to complete fake the motion in a cinemagraph. This may limit what you can do based on your skillset but if you can pull it off, you’re using elements that were already in the static photo so you don’t have to worry about a lot of the struggles of compositing something like making sure it’s blended properly, the perspective is exact, the lighting is coming from the same angle at the same intensity, etc.
In this sample After Effects was used to create movement in the water rather than compositing water from a different source. Using what was already there maintains the integrity and impact of the original photography and, rather than changing the image, it enhances it.
File formats
Your typical go-to file format for a cinemagraph (or any short-form animation) is usually a GIF. This is not always the best format to use, however. With the web increasingly supporting new file formats we have many options now. Some of the best of these being MP4 or WEBM.
You could export your cinemagraph in GIF format and end up with a low-quality image and a very large file size. One of mine was 32 MB as a GIF but only 3 MB as an MP4.
Exporting as MP4 or WEBM adds another layer to explore: Audio. Sometimes adding a bit of audio to your cinemagraph can create an even more immersive experience:
If you are looking to up your social media marketing strategy game schedule a call with us. We pull out all the tricks to help our clients engage with their audience with highly impactful content that is certain to leave a lasting impression.
Resources:


